Creating a WordPress Website and earn Money (2023) in Sri Lanka
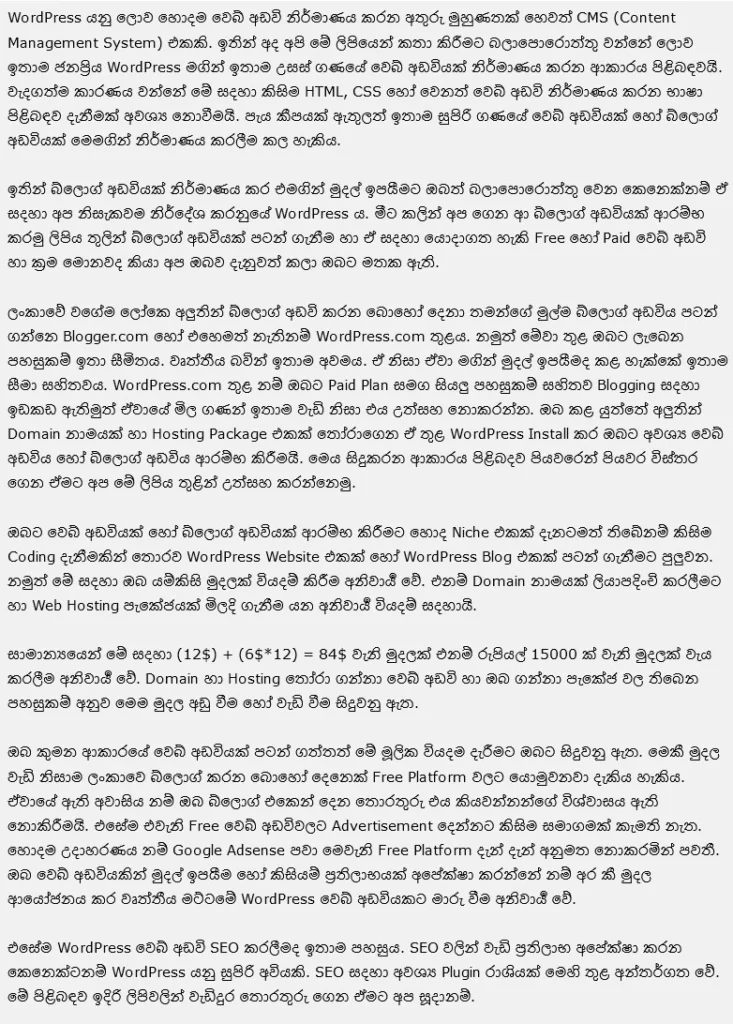
WordPress is widely recognized as the leading content management system (CMS) and website creation interface. In this article, we will explore the process of building a high-quality website using WordPress, which does not require expertise in web design languages such as HTML or CSS. Creating a professional website or blog can be accomplished within a few hours.
WordPress is highly recommended for individuals aiming to create a blog and generate income from it. While many new bloggers in Sri Lanka and worldwide start with platforms like Blogger.com or WordPress.com, these options provide limited features and professional capabilities, resulting in restricted earning potential. While WordPress.com offers enhanced blogging features with a paid plan, the associated costs are often exorbitant. Instead, it is advisable to choose a new domain name, purchase a hosting package, install WordPress, and begin building the desired website or blog. We will provide a detailed step-by-step guide in this article.
To create a WordPress website or blog without coding knowledge, it is necessary to invest in a domain name and web hosting package. Typically, this incurs an expense of around $84 or approximately 15,000 rupees, depending on the chosen domain registrar, hosting provider, and package features. While some bloggers opt for free platforms due to the cost, these options lack credibility in the eyes of readers and advertisers. For those seeking to monetize their website or expect returns, investing in a professional WordPress website is imperative.
WordPress websites are also highly SEO-friendly. The platform provides numerous plugins and tools essential for search engine optimization, offering an advantage for maximizing SEO efforts. Future articles will delve into more details on this topic.
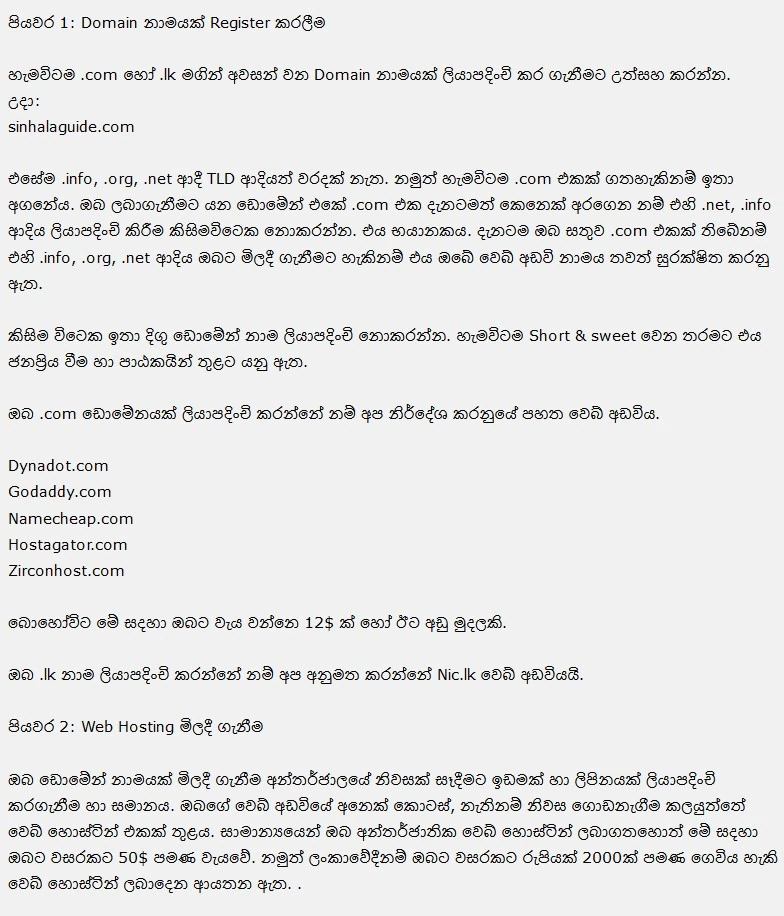
Step 1: Register a Domain Name
When registering a domain name, it is advisable to opt for a .com or .lk extension. Other TLDs such as .info, .org, or .net are acceptable but securing a .com domain is preferred. If the .com domain is unavailable, it is not recommended to register alternative extensions like .net or .info, as it can lead to confusion. If you already own a .com domain, you can consider registering additional extensions to further secure your website name. Additionally, it is important to choose a concise and memorable domain name that resonates with your target audience.
Step 2: Purchase Web Hosting
Web hosting is akin to acquiring a plot of land and an address to build your home on the internet. Your website, or “home,” should be built within a web host. International web hosting typically costs around $50 per year, but there are Sri Lankan hosting providers offering packages for approximately 2,000 rupees annually. It is crucial to select the right web hosting package for your website or blog, and we recommend Zircon Host for local hosting and Hostgator for international hosting. If you encounter difficulties in choosing and purchasing a hosting package, feel free to reach out to us through the Contact Us page.
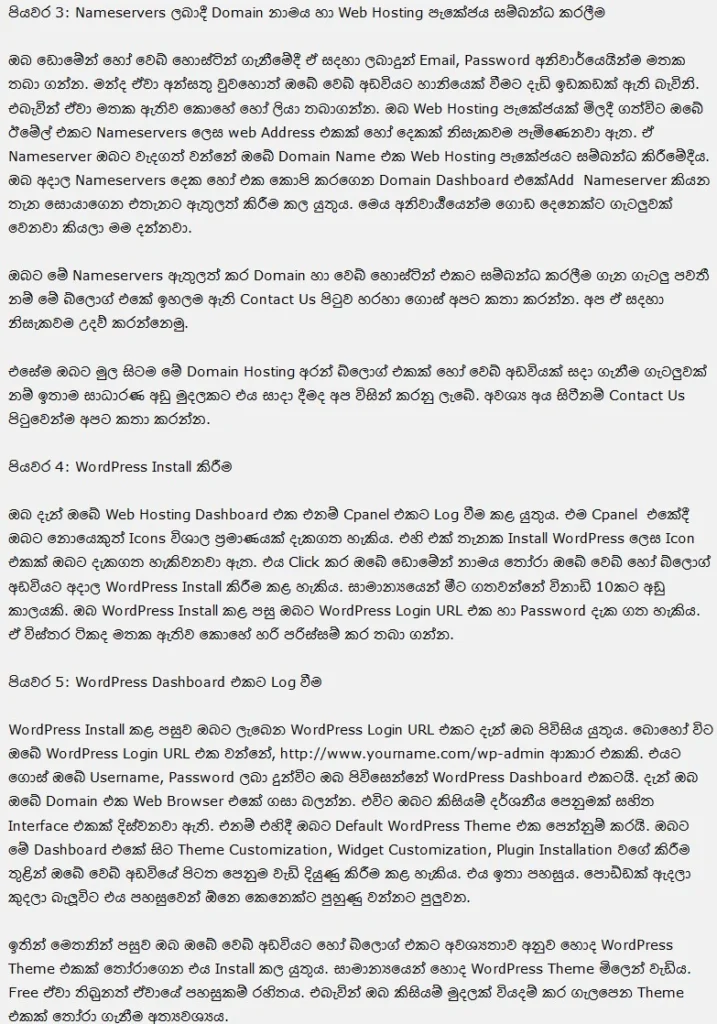
Step 3: Linking the Domain Name and Web Hosting Package
Upon purchasing the domain or web hosting, remember to keep track of the email and password associated with the purchase, as misplacing them can have detrimental effects on your website. The next step is linking the domain name to the web hosting package by providing the nameservers. After purchasing the hosting package, you will receive one or two nameservers via email. These nameservers are crucial for connecting the domain name to the web hosting package. Enter the relevant nameservers in the Domain Dashboard, specifically in the Add Nameserver section. If you encounter any issues with this process, you can reach out to us through the Contact Us page for assistance.
Step 4: Installing WordPress
Log in to your web hosting dashboard (Cpanel) and locate the “Install WordPress” icon. Select your domain name and proceed with the WordPress installation for your website or blog. The installation process usually takes less than 10 minutes. After the installation, make note of the WordPress login URL and password provided.
Step 5: Logging into the WordPress Dashboard
Access the WordPress login URL, which is typically in the format http://www.yourname.com/wp-admin, using your designated username and password. This will grant you access to the WordPress Dashboard. Typing your domain in the web browser will display the Default WordPress Theme and provide options for theme customization, widget customization, and plugin installation to enhance the appearance and functionality of your website. The WordPress Dashboard is user-friendly and can be easily navigated with some exploration.
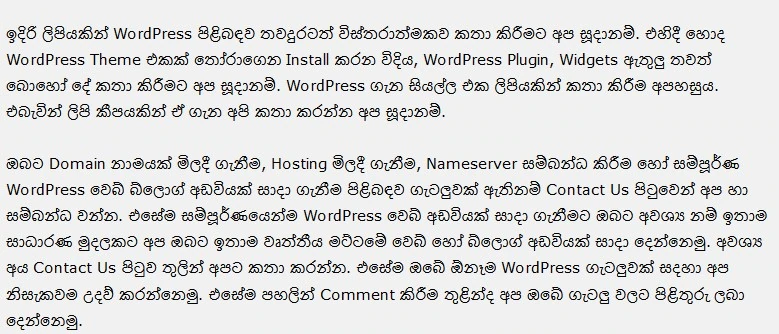
Choosing a suitable WordPress theme for your website or blog is essential. While good WordPress themes may come at a cost, investing in a reputable theme is worthwhile. In upcoming articles, we will provide more detailed information about WordPress themes, plugins, widgets, and other aspects. Given the complexity of discussing WordPress in a single article, we will address these topics across multiple articles.
If you encounter challenges related to domain registration, hosting purchase, nameserver connection, or require assistance in creating a complete WordPress website, feel free to contact us through the Contact Us page. Additionally, if you are interested in having a professional website or blog created for you at a reasonable price, please reach out to us. We are committed to helping you with any WordPress-related issues and answering your questions via comments as well.
Read the Sinhala version from below.
